How to create an image map using Inkscape and the ImageMap tool
Getting started
Fist prepare the image you would like to add an image map to.
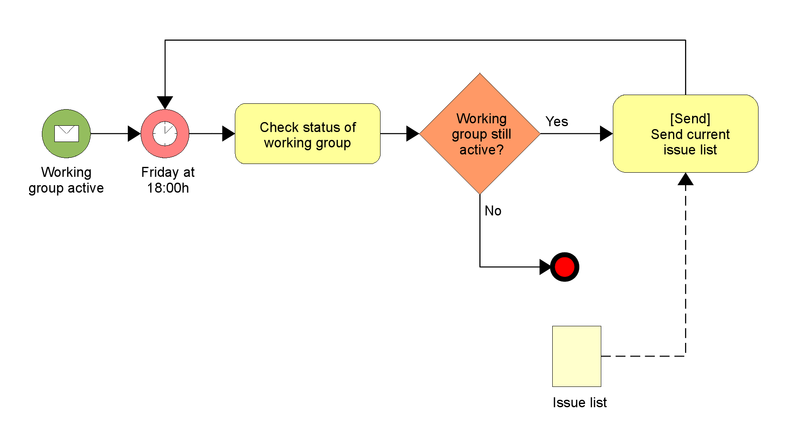
Import the image into Inkscape using the Import command, linking the image rather than embedding it. Modify the page properties to match the size of the image, and the image properties to ensure it’s starts at position 0x0. (If you don’t your coordinates might not be perfectly aligned).
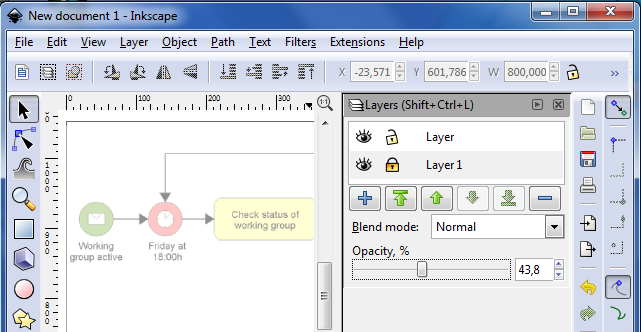
Add another layer for the lines, and make the layer with the image a bit transparent so that it’s easy to see the lines you’ve drawn.
Select the bezier tool, and check for straight lines so that you don’t accidentally create curves.
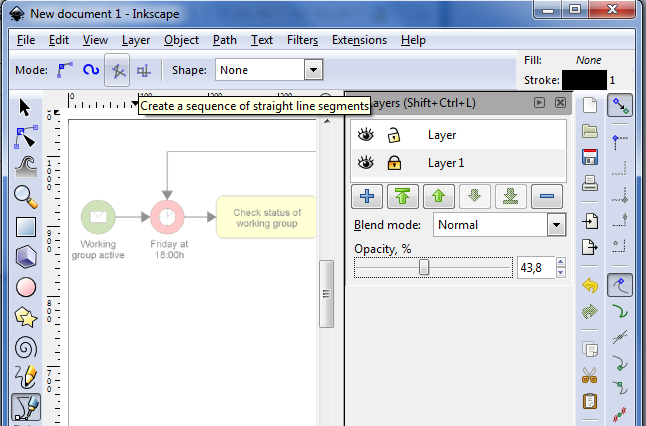
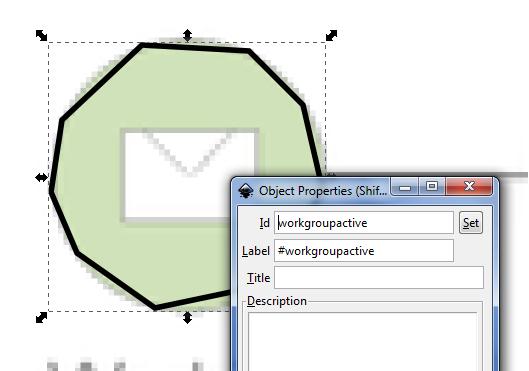
Proceed to draw your polygons and make sure that they are closed. It is very usefull to add meaningfull names to the polygons via properties to make it easier to add the links once the HTML Map has been created.
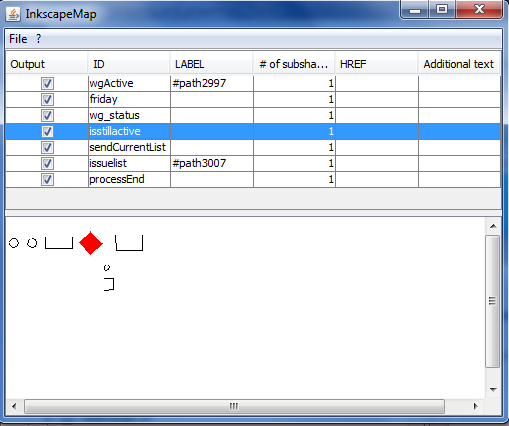
Save the file, and load it into inkscapemap , you should see something like this:
Save as HTML Map and add links etc, to suit your needs. Click below to see.